Recycle Bin and Revision History
The Recycle Bin and Revision History features make it super easy to correct small mistakes made when editing or deleting content. In this article we will show you how to restore recently saved changes and deleted page stacks, news stories, and announcements!
Recycle Bin
The Recycle Bin allows us to recover deleted page stacks, news stories, and announcements that were accidently removed when cleaning up the back end of the site. The Recycle Bin button sits under the Pages Tab at the top of your page list.
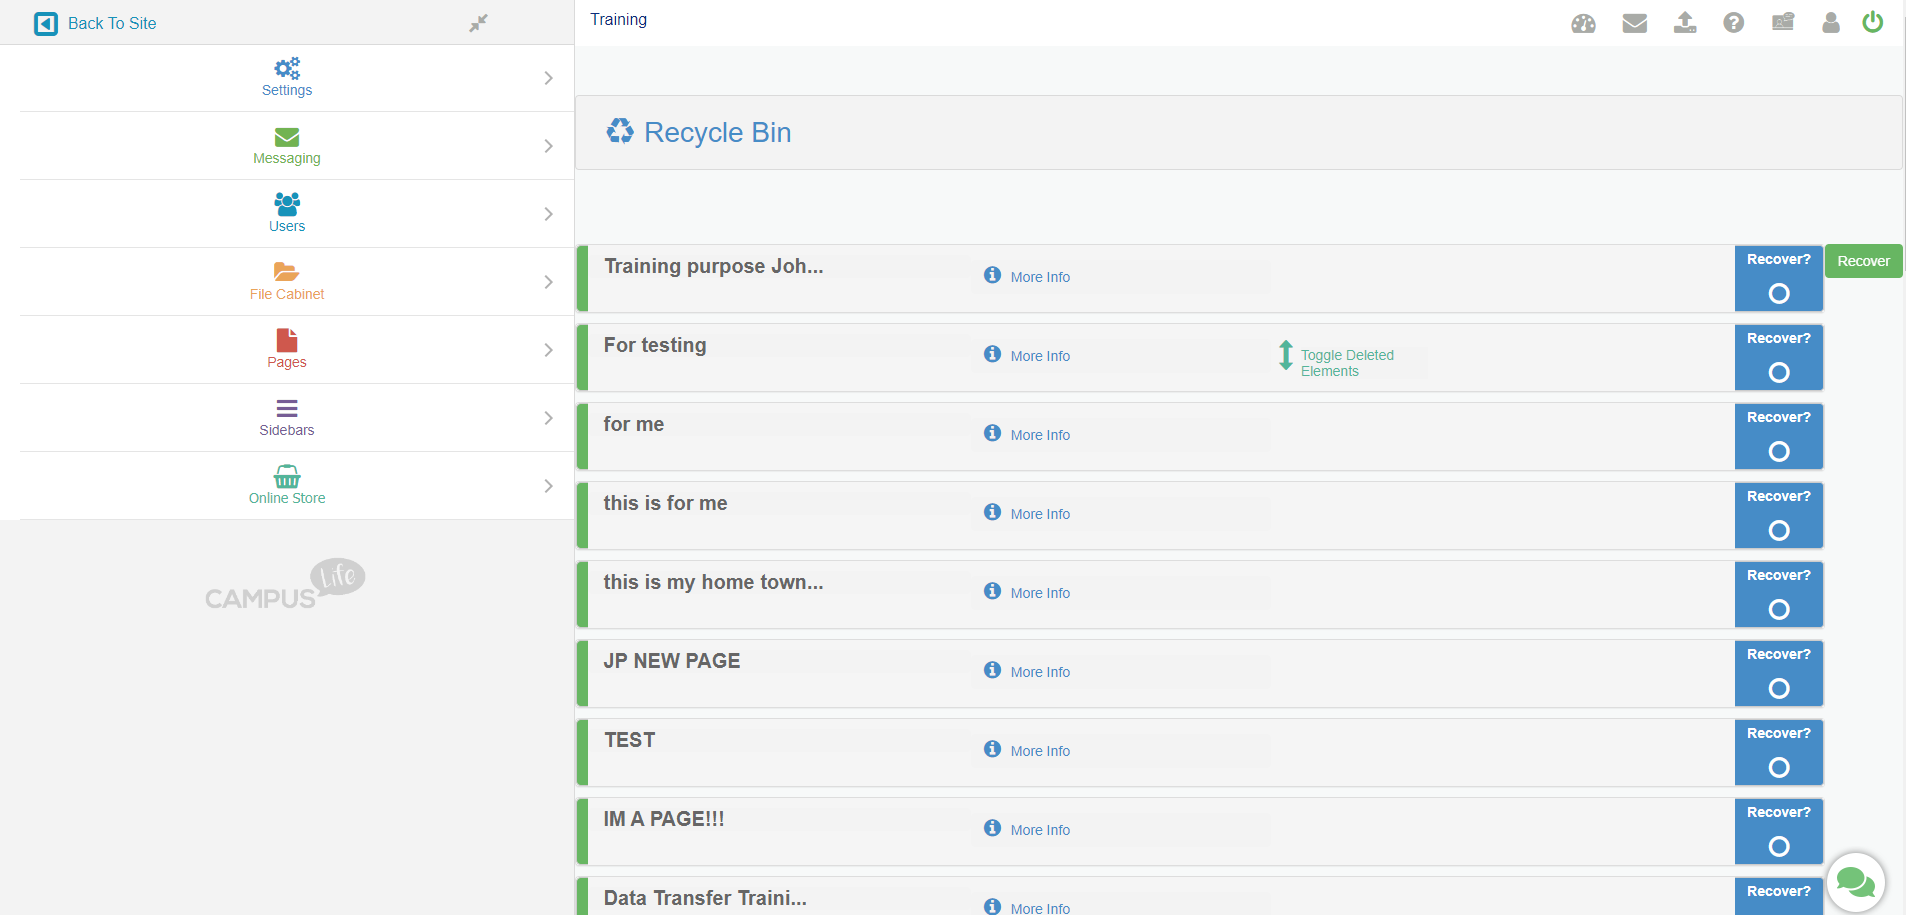
When you click on this button you will be met with a list of all the deleted content that can be recovered. If it is not in this list, the element is permanently deleted and can't be recovered. The list should look something like this:
From here, all you have to do is find the element you want to recover (CTRL-F helps when trying to locate specific items) and click the blue recover to insert a check mark into the circle:
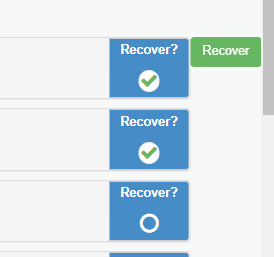
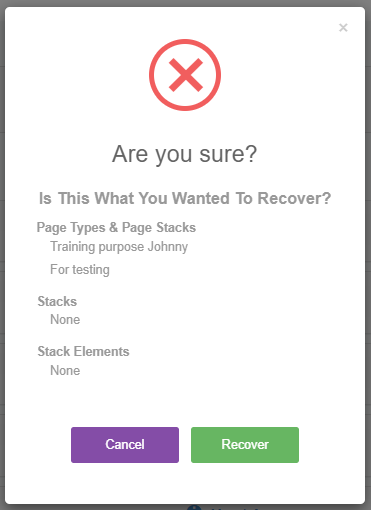
Once we have everything we want recovered selected, you click the green recover Button to the right side of the list. This will display a confirmation message listing everything we want to recover. Confirm by clicking Recover again.
And that's it! You will be presented with the option to navigate back to the restored content in the final screen!
Revision History
Revision history allows for us to bring back the last 10 (ten) previously saved instances of a page. For instance, if I make a mistake that deletes a large portion of a page's content, we can now easily revert back to a previous save of the page to restore the content!
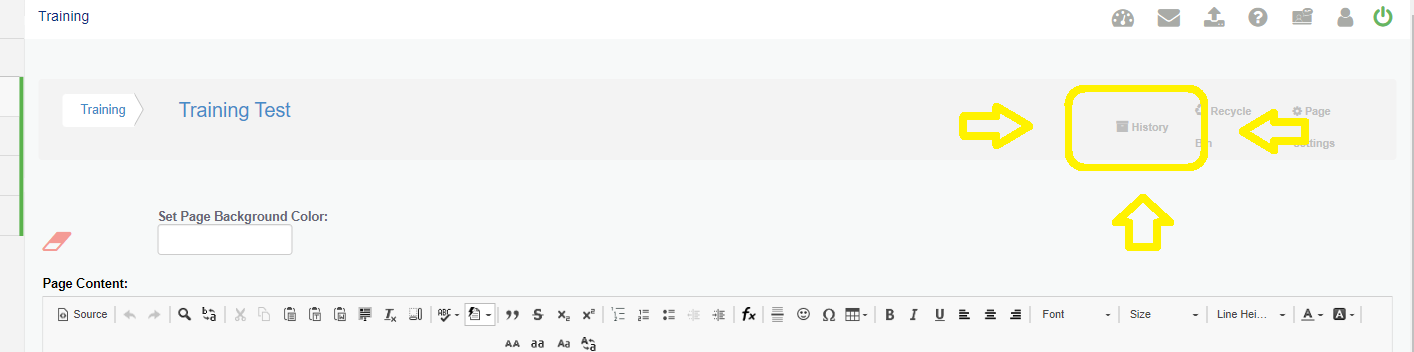
The Revision History button is located at the top of the page to the left of "Page Settings".
(If the button is not visible, then revision history is not available for the chosen page type.)
The Revision History button is located at the top of the page to the left of "Page Settings".
(If the button is not visible, then revision history is not available for the chosen page type.)
When this button is clicked you will be met with a list of the saved revisions we can revert back to.

Simply select the revision and you will be presented a preview of what the page look like at that save.
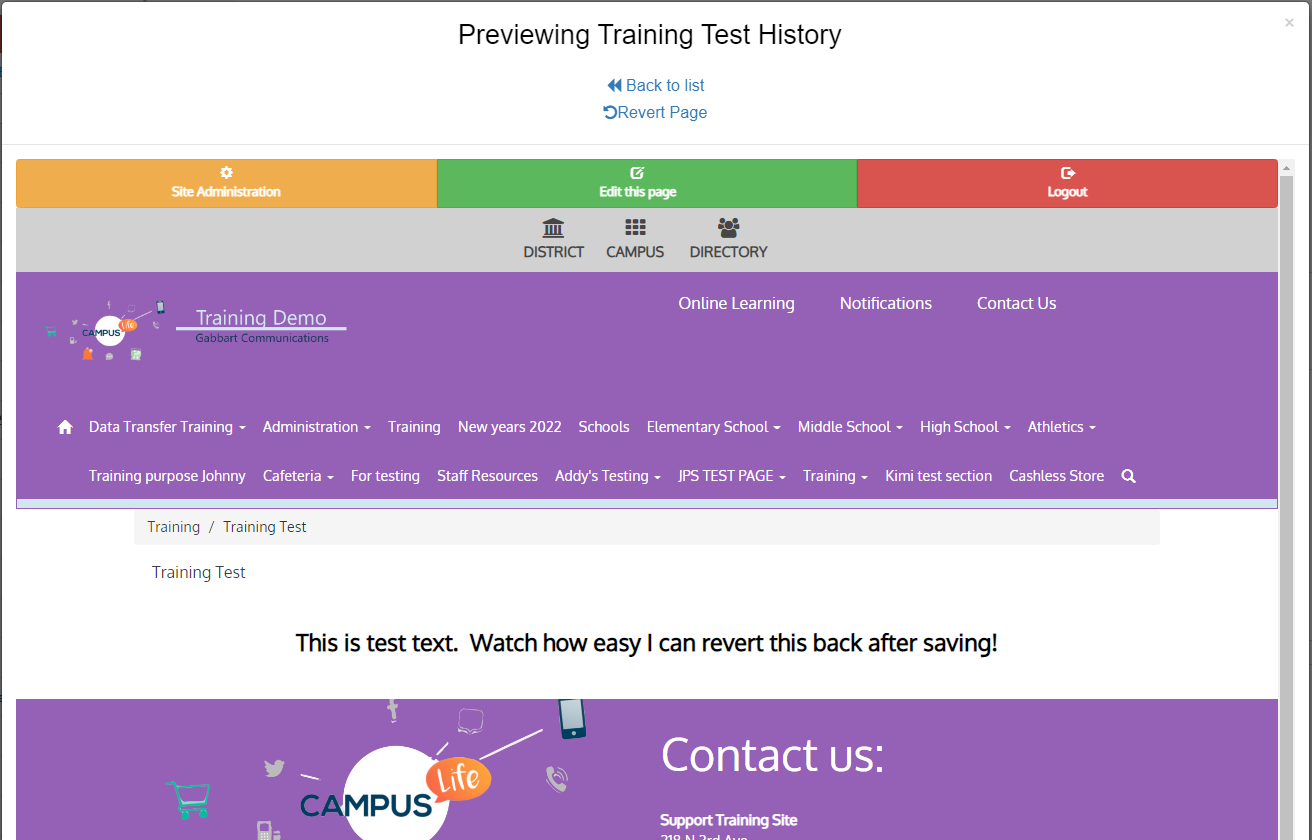
Simply select the revision and you will be presented a preview of what the page look like at that save.
Once you have found the revision that you want to restore, click on "Revert Page" at the top of the box and the page will be restored to that point.
Here's a video of the entire process:
Here's a video of the entire process:
Revision History on page stacks
Page Stacks have their own Revision History. Each stack has it's own seperate revision history so you don't have to restore the full page to correct a small error. You only have to revert the stack with the error.
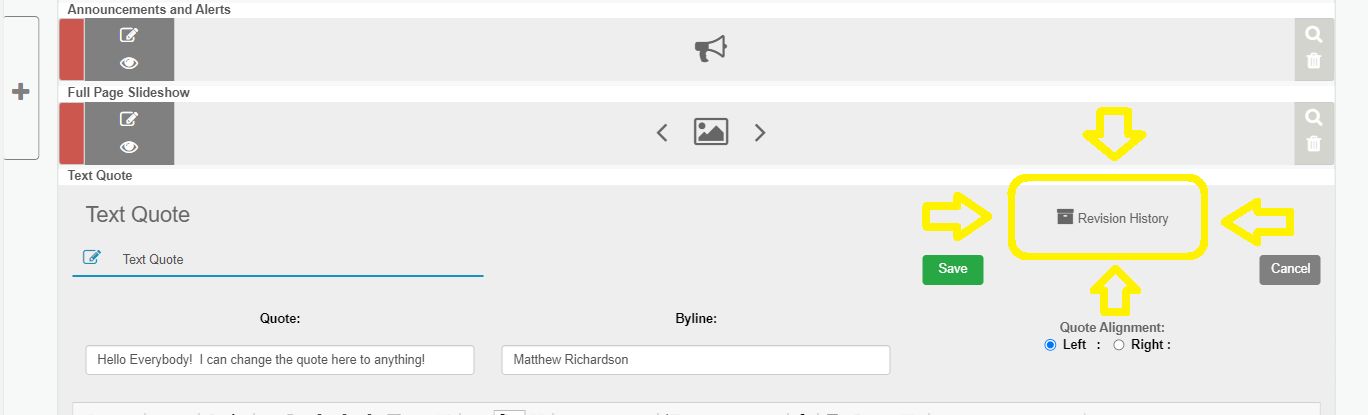
Clicking this "Revision History" button will pull up a box with the last 10 Saves made to the stack, similar to the Page revision history.
Simply click the the revision you want to restore and it will give a preview. If it shows the content we want restored we can click "Revert Stack" at the top.
Please reach out to us at 877-810-6894 if you need any assistance with your site.
Related Articles
The Page Stack
Our Page Stack page type allows you the most options to customize your page's formatting, easily manage content, and even schedule Design Stack features. Click here to view a video demonstration! Creating A Pagestack Log in and navigate to ...Clearing Browser Cache Folder
Why is clearing your Internet Browser's cache important? Your internet browser saves data from each site that you visit, the data is stored in a temporary folder called cache. When you visit a website, the browser retains data such as the images or ...Creating a Parent Profile for Cashless Campus
You have the ability to create a Parent Profile for your school's Cashless Campus. You can access the sign up module in two locations. 1. When you go to check out, you will be asked to login, sign up or continue as a guest. 2. On the Store homepage ...Attendance Notification Settings
Attendance Notification Settings Locate the Attendance Settings in the Site Administration, under the Messaging tab. Create Groups Add a Group Name Include Site IDs for each campus Select the grades to include Set the call time for Morning, ...Profile Page FAQ
The profile page is a great resource for displaying your personal or professional information. This is where you will update your conference times, your title, even your profile picture. Only the profile owner can update a profile (even webmasters ...